Before installation
检查硬件要求
check hardware requirements
内存最低1G,推荐2G或更高 用free查看
Memory at least 1G, recommend 2G and above (use command free to check)
|
可用内存(available memory) |
Swap需求(swap requirement) |
|
1G-2G |
Ram x 1.5 |
|
2G-16G |
=ram |
|
16G以上 |
16G |
/tmp至少1G
/tmp at least 1G
|
安装类型(install type) |
软件(software) |
数据文件(datafiles) |
|
Enterprise |
4.35 |
1.7 |
|
Standard |
4.22 |
1.5 |
操作系统要求(OS requirement):
# cat /proc/version
Asianux Server 3 SP2
Oracle Linux 4 Update 7
Oracle Linux 5 Update 2 (with Red Hat Compatible Kernel)
Oracle Linux 5 Update 5
Oracle Linux 6
Oracle Linux 6 (with Red Hat Compatible Kernel)
Red Hat Enterprise Linux 4 Update 7
Red Hat Enterprise Linux 5 Update 2
Red Hat Enterprise Linux 5 Update 5 (with the Oracle Unbreakable Enterprise Kernel for Linux)
Red Hat Enterprise Linux 6
Red Hat Enterprise Linux 6 (with the Oracle Unbreakable Enterprise Kernel for Linux)
SUSE Linux Enterprise Server 10 SP2
SUSE Linux Enterprise Server 11
内核需求(kernel requirements):
# uname -r
On Oracle Linux 4 and Red Hat Enterprise Linux 4
2.6.9 or later
On Oracle Linux 5 Update 5
2.6.32-100.0.19 or later
On Oracle Linux 5 Update 2
2.6.18 or later (with Red Hat Compatible Kernel)
On Oracle Linux 6
2.6.32-100.28.5.el6.x86_64 or later
On Oracle Linux 6
2.6.32-71.el6.x86_64 or later (with Red Hat Compatible Kernel)
On Red Hat Enterprise Linux 5 Update 5 with the Oracle Unbreakable Enterprise Kernel for Linux
2.6.32 or later
On Red Hat Enterprise Linux 6 with the Oracle Unbreakable Enterprise Kernel for Linux
2.6.32-100.28.5.el6.x86_64 or later
On Red Hat Enterprise Linux 6
2.6.32-71.el6.x86_64 or later
On Asianux Server 3, Oracle Linux 5 Update 2, and Red Hat Enterprise Linux 5 Update 2
2.6.18 or later
On SUSE Linux Enterprise Server 10
2.6.16.21 or later
On SUSE Linux Enterprise Server 11
2.6.27.19 or later
Installation:
1. 修改sysctl.conf文件,在文件末尾插入
Edit sysctl.conf file,at the end of file add in
|
vi /etc/sysctl.conf fs.aio-max-nr = 1048576 fs.file-max = 6815744 kernel.shmmni = 4096 kernel.sem = 250 32000 100 128 net.ipv4.ip_local_port_range = 9000 65500 net.core.rmem_default = 262144 net.core.rmem_max = 4194304 net.core.wmem_default = 262144 net.core.wmem_max = 1048586 |
2. 执行sysctl –p,确保输出结果与第一步的数据相同
Enter sysctl –p, make sure the output is the same as step 1
|
sysctl –p |
3. 修改limits.conf,在文件末尾插入
Edit limits.conf file,at the end of file add in
|
vi /etc/security/limits.conf oracle soft nproc 2047 oracle hard nproc 16384 oracle soft nofile 1024 oracle hard nofile 65536 oracle hard stack 10241 |
4. 关闭selinux,把enforcing 改为disabled
Turn off selinux, change enforcing to disabled
|
vi /etc/sysconfig/selinux selinux=disabled |
5. 关闭linux防火墙
Turn off iptables
|
service iptables stop chkconfig iptables off |
6. 查看防火墙启动状态
Check iptables status
|
chkconfig -–list|grep iptables |
7. 配置yum
Yum configuration
|
mkdir /iso umount /dev/sr0 mount /dev/sr0 /iso
vi /etc/yum.repos.d/local.repo [server] name=server baseurl=file:///iso enabled=1 gpgcheck=0 |
8. Yum install
|
yum -y install binutils compat-libstdc++-33 compat-libstdc++-33.i686 elfutils-libelf elfutils-libelf-devel gcc gcc-c++ glibc glibc.i686 glibc-devel |
9. 创建用户和组
Create users and groups
|
groupadd dba groupadd oinstall groupadd oper useradd oracle 创建oracle用户 /usr/sbin/useradd -g oinstall -G dba,oper oracle usermod -g dba oracle 把oracle用户加到dba组里 passwd oracle 给oracle用户建密码 |
10. 给oracle建安装目录
Create install dirctory for oracle
|
mkdir -p /u01/app/oracle chown -R oracle:dba /u01/app/oracle 把文件属主改为oracle chmod -R 777 /u01/app/oracle 把文件权限改为777 |
11. 配置oracle用户环境变量(home、base、sid、path、umask)
Configure oracle user's environment variable
|
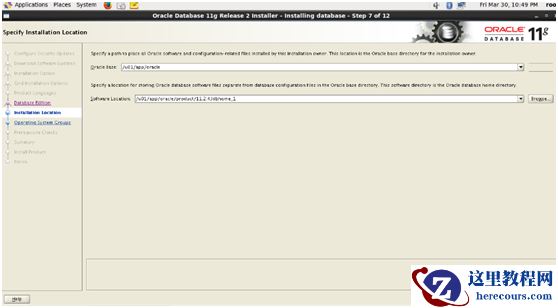
su - oracle vi /home/oracle/.bash_profile ORACLE_BASE=/u01/app/oracle ORACLE_SID=sales ORACLE_HOME=$ORACLE_BASE/11.2.4/dbhome_1 export ORACLE_BASE ORACLE_SID ORACLE_HOME export PATH=$ORACLE_HOME/bin:$PATH |
(ORACLE_HOME路径跟安装路径一定要一致)
(ORACLE_HOME must be the same with install path)
12. 使新环境变量生效
Make new environment variables effective
|
source .bash_profile |
13. 添加/etc/hosts
Edit /etc/hosts
|
su vi /etc/hosts 192.168.1.9 wyl |
(写本机ip和主机名)
(write your ip and username)
14. Reboot
15. 上传oracle文件到/u01并解压
Upload oracle files to /u01 and unzip
16. 切换到oracle用户
Switch to oracle user
|
su – oracle xhost + cd /u01/oracle/database ./runInstaller |
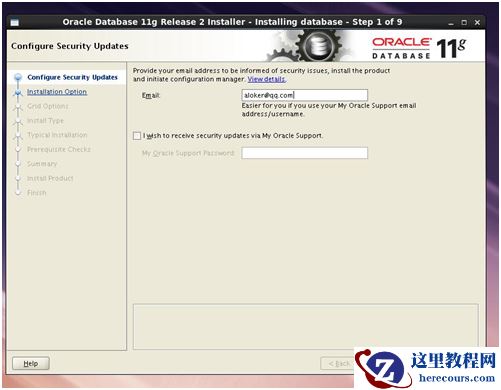
17. 输入邮箱,不勾选
Enter your email address,do not tick the box
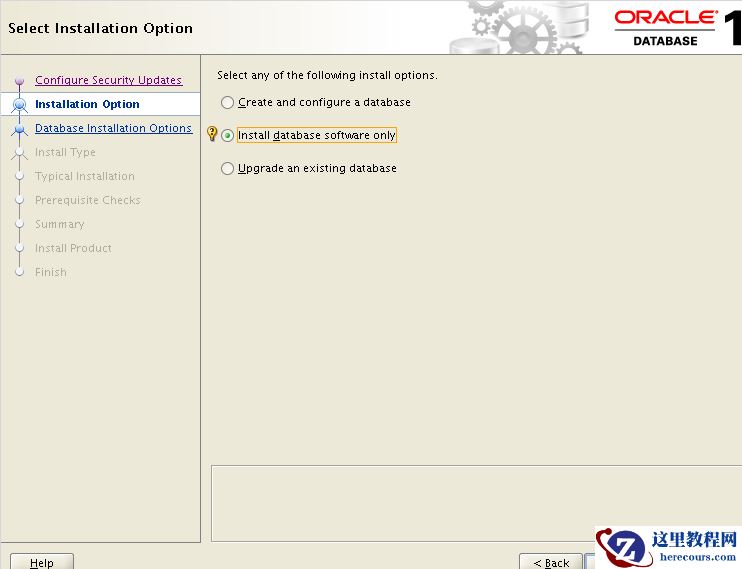
18. 选只创建,不建数据库
Choose install database software only
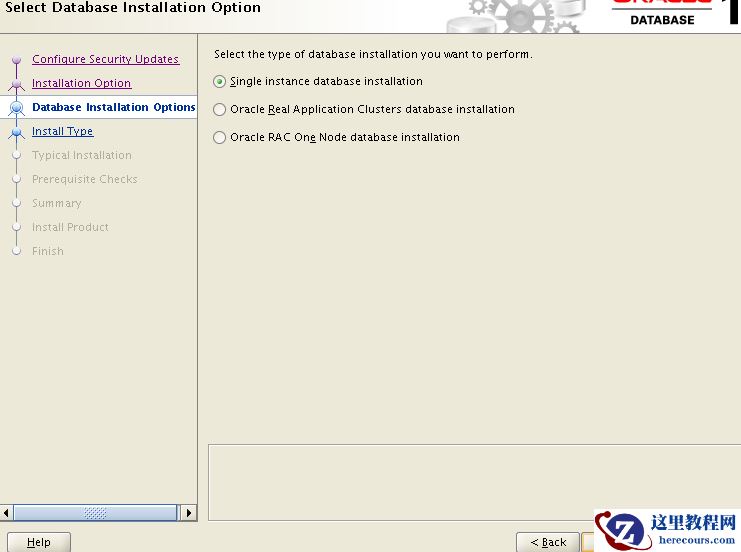
19. 单实例数据库
Single instance database
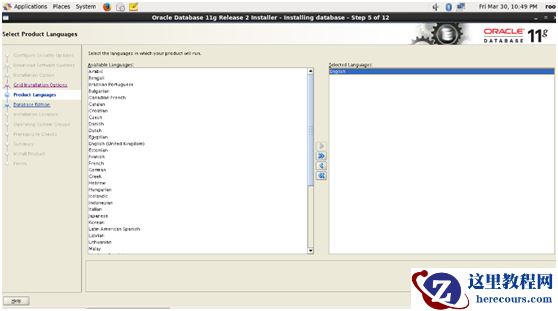
20. 选英语
Choose English
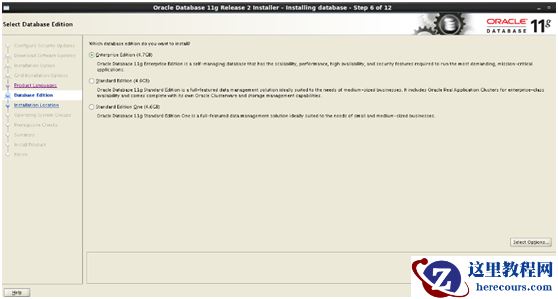
21. 选企业版
Choose enterprise edition
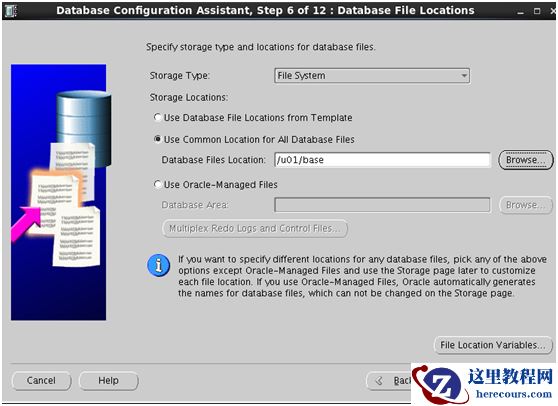
22. 写ORACLE_BASE和ORACLE_HOME的路径
Fill in ORACLE_BASE and ORACLE_HOME path
23. /u01/app/orainventory
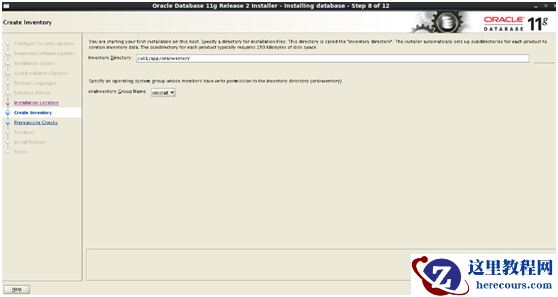
24. NEXT

25. NEXT
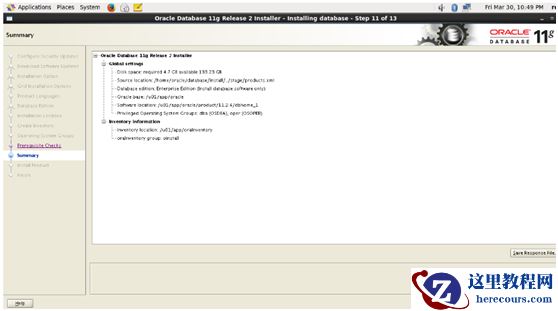
26.

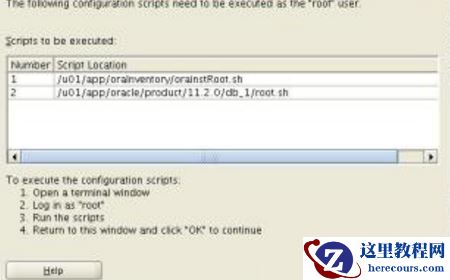
27. 运行提示脚本
Execute shown scripts
28. 安装成功
Successfully install oracle database
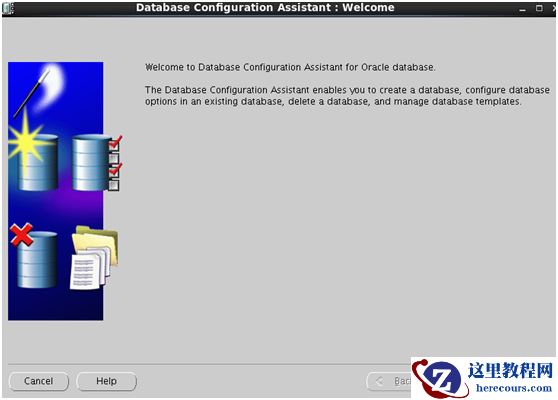
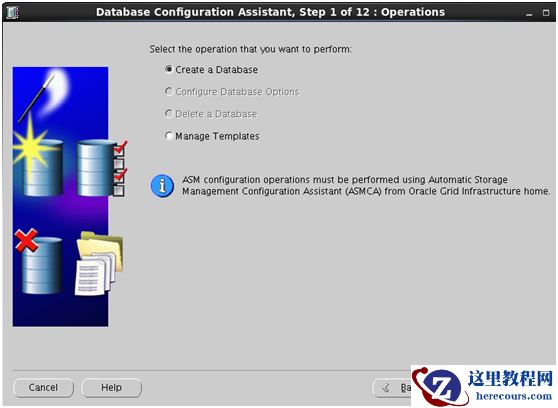
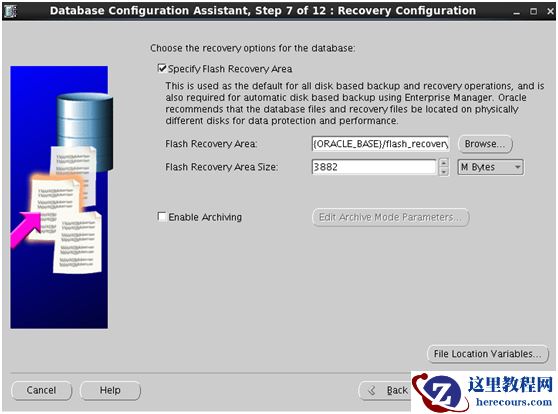
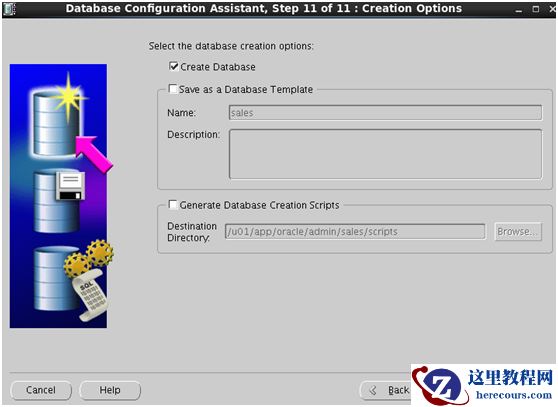
建数据库(Create database)
dbca
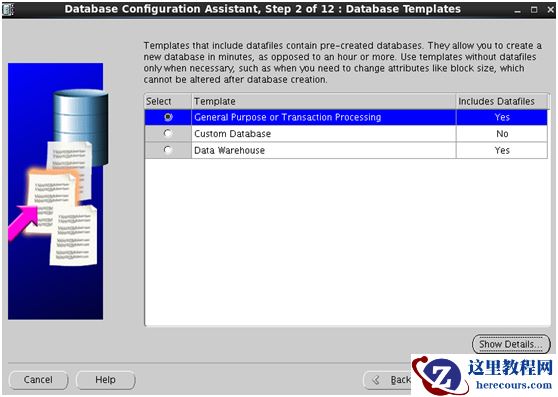
NEXT
NEXT
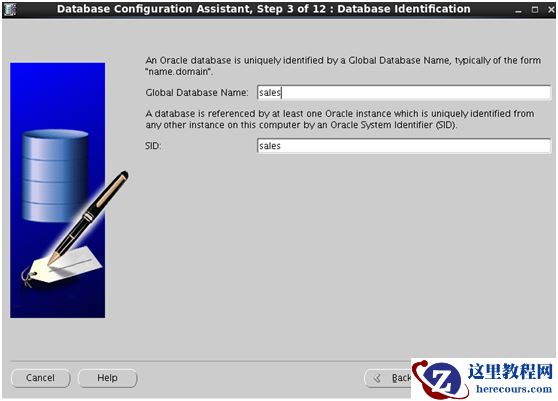
NEXT
SID与环境变量中的SID一致
SID here must be the same as SID in .bash_profile
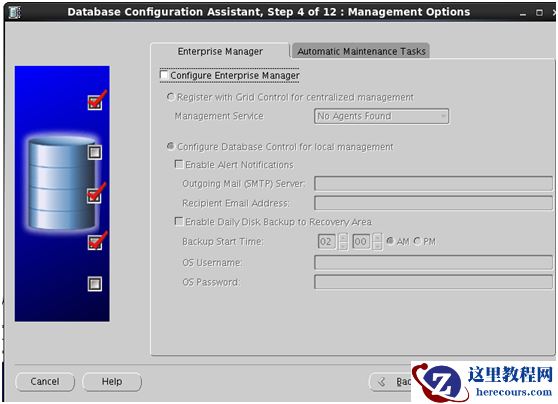
不勾选
Do not tick
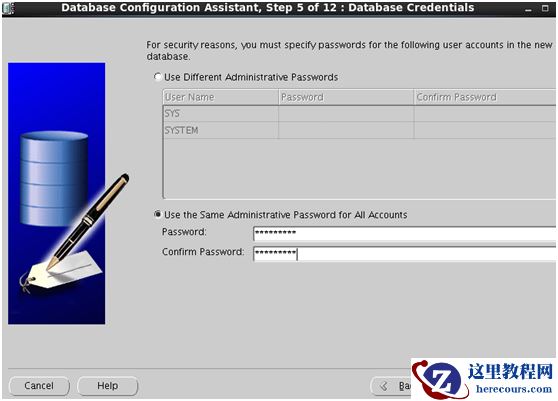
输入密码
Enter password
NEXT
NEXT
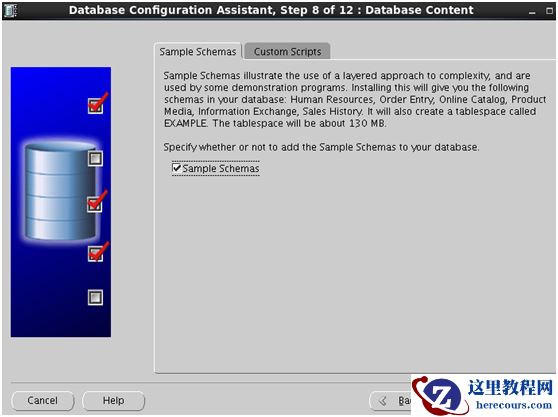
勾选
这个就会装练习用的表,不选就是空白数据库
Tick this will have sample schemas, otherwise is empty database
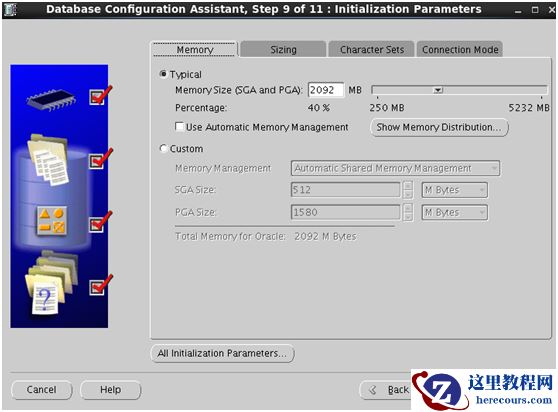
第
一个是内存分配,第二个是进程分配,第三个是字符集,第四个是pga运行方式
NEXT
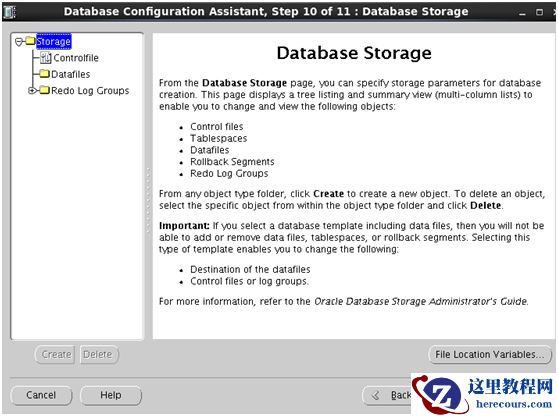
NEXT
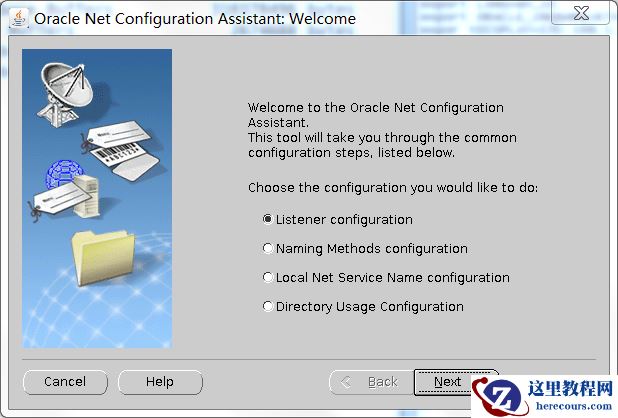
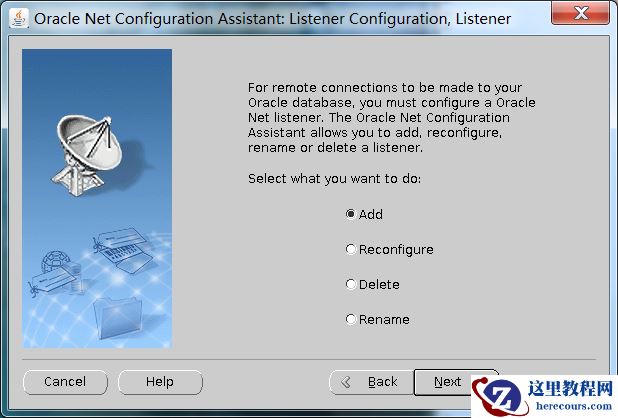
建监听(Listener configuration)
netca
NEXT
NEXT
NEXT
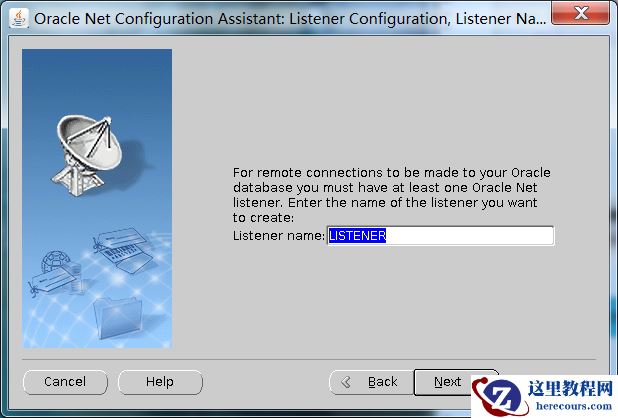
NEXT

NEXT
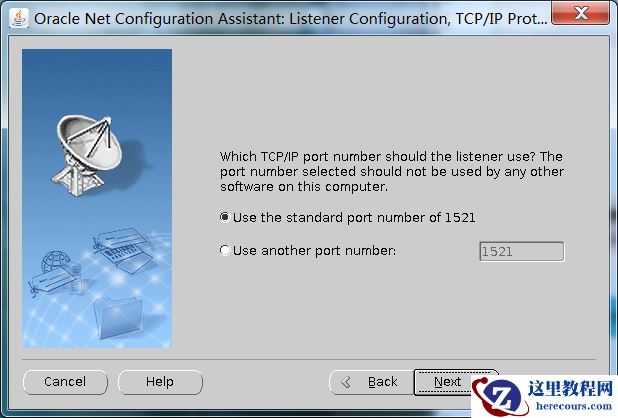
NEXT


")


")
")

