一 oracle
数据库的安装环境1.oracle1#vi /etc/hosts# Do not remove the following line, or various programs# that require network functionality will fail.
127.0.0.1 localhost.localdomain localhost::1 localhost6.localdomain6 localhost6192.168.1.1 oracle1
192.168.1.2 oracle2 2.
修改用户的SHELL
的限制,修改/etc/security/limits.conf
文件[root@sd_db1 ~]#vi /etc/security/limits.conforacle soft nproc 2047oracle hard nproc 16384oracle soft nofile 1024oracle hard nofile 65536 3.
修改/etc/pam.d/login
文件[root@sd_db1 ~]#vi /etc/pam.d/loginsession required /lib/security/pam_limits.sosession required pam_limits.so 4.
修改linux
内核文件(参数大的,
不做修改,
修改完毕,输入:sysctl -p
生效)[root@sd_db1 ~]#vi /etc/sysctl.conffs.file-max = 6815744fs.aio-max-nr = 1048576kernel.shmall = 2097152kernel.shmmax = 2147483648kernel.shmmni = 4096kernel.sem = 250 32000 100 128net.ipv4.ip_local_port_range = 9000 65500net.core.rmem_default = 4194304net.core.rmem_max = 4194304net.core.wmem_default = 262144net.core.wmem_max = 1048576 5.
编辑 /etc/profile,
添加[root@sd_db1 ~]#vi /etc/profileif [ $USER = "oracle" ]; thenif [ $SHELL = "/bin/ksh" ]; then ulimit -p 16384 ulimit -n 65536else ulimit -u 16384 -n 65536fifi 6.
创建相关用户和组groupadd oinstallgroupadd dbauseradd -g oinstall -g dba -m oraclepasswd oracle 7.
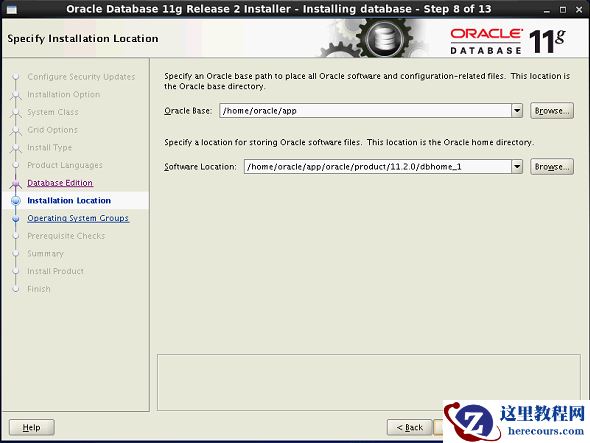
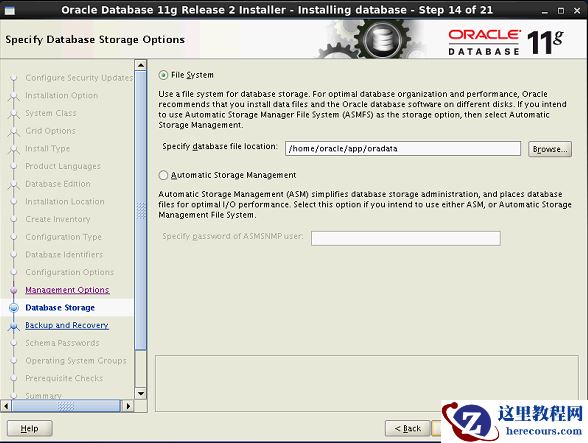
创建数据库软件目录和数据文件存放目录,目录的位置mkdir /home/oracle/appmkdir /home/oracle/app/oraclemkdir /home/oracle/app/oradatamkdir /home/oracle/app/oracle/product 8.
更改目录属主为Oracle
用户所有chown -R oracle:oinstall /home/oracle/ 9.su
– oracle,
编辑 .bash_profile[oracle@sd_db1 ~]#Cd /home/oracle[oracle@sd_db1 ~]#vi .bash_profileexport ORACLE_BASE=/home/oracle/appexport ORACLE_HOME=$ORACLE_BASE/oracle/product/11.2.0/dbhome_1export ORACLE_SID=orclexport PATH=$PATH:$HOME/bin:$ORACLE_HOME/binexport LD_LIBRARY_PATH=$ORACLE_HOME/lib:/usr/lib 10.
拷贝oracle
压缩文件到/home/oracle
,解压缩[root@sd_db1 ~]#Cp -r /root/oracle11g /home/oracle[root@sd_db1 ~]#Unzip linux.x64_11gR2_database_1of2.zip[root@sd_db1 ~]#Unzip linux.x64_11gR2_database_2of2.zip 13.
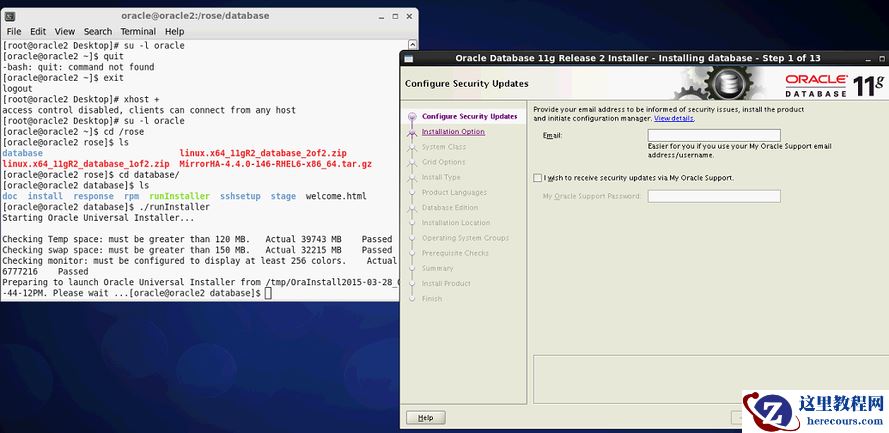
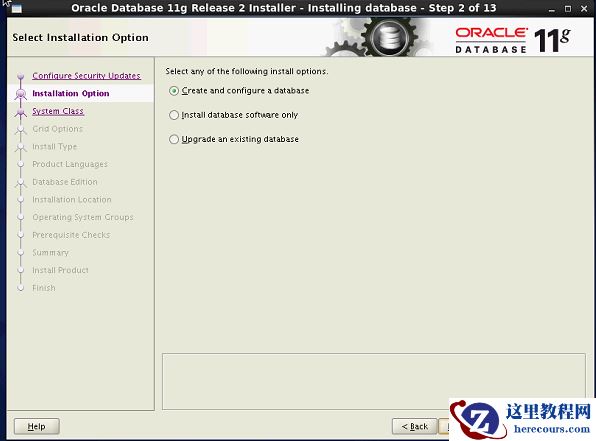
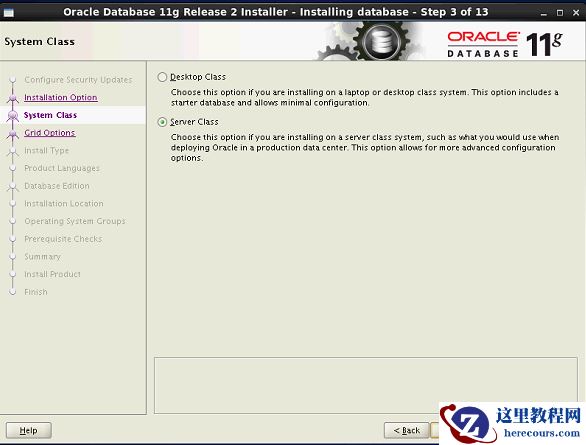
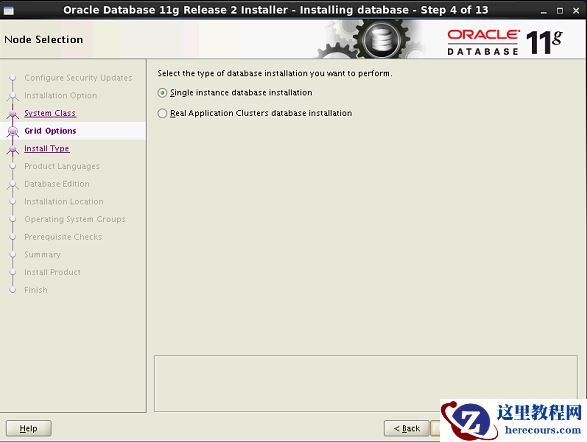
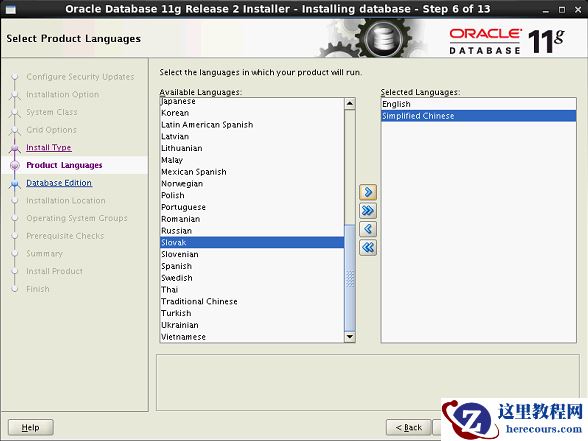
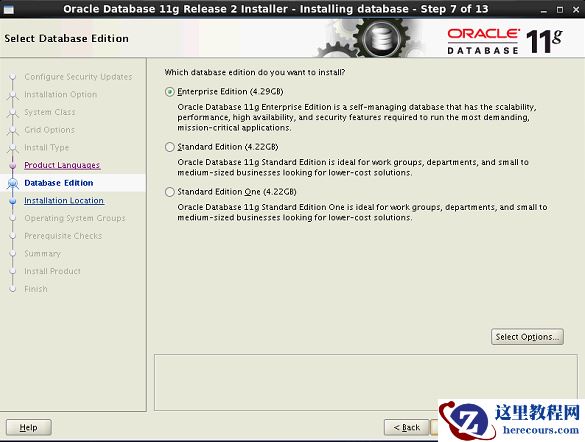
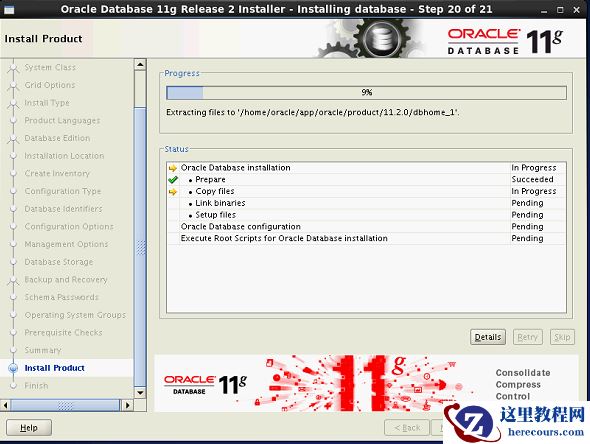
安装oracle
数据库[root@sd_db1~]# su -oracle[oracle@sd_db1oracle]$ cd /data/oracle/database[oracle@sd_db1database]$ ./runInstaller
二 安装oracle
数据库

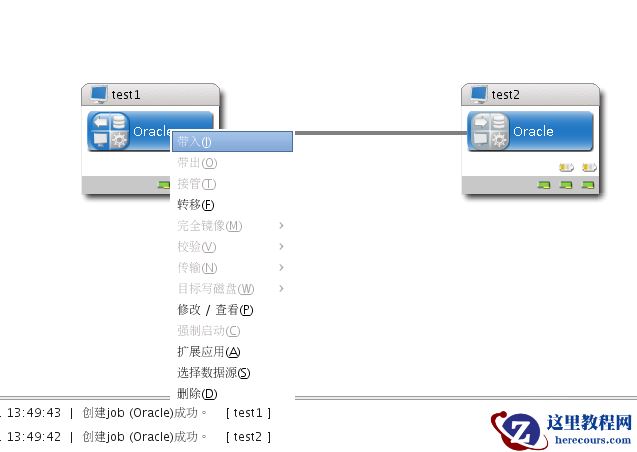
三 Rose Mirror HA 安装[root@test1 Desktop]# lsMirrorHA-4.4.0-146-RHEL6-x86_64.tar.gz[root@test1 Desktop]# tar -zxvf MirrorHA-4.4.0-146-RHEL6-x86_64.tar.gz MirrorHA-4.4.0-146-RHEL6-x86_64/MirrorHA-4.4.0-146-RHEL6-x86_64/installMirrorHA-4.4.0-146-RHEL6-x86_64/resource.tar[root@test1 Desktop]# lsMirrorHA-4.4.0-146-RHEL6-x86_64 MirrorHA-4.4.0-146-RHEL6-x86_64.tar.gz[root@test1 Desktop]# cd MirrorHA-4.4.0-146-RHEL6-x86_64[root@test1 MirrorHA-4.4.0-146-RHEL6-x86_64]# lsinstall resource.tar[root@test1 MirrorHA-4.4.0-146-RHEL6-x86_64]# ./install MirrorHA Installation ----------------------------------- Version: 4.4.0 B146Components list: 1. MirrorHA Driver and Service 2. MirrorHA Control Center (RCC) 3. ALL (both 1 and 2) Q. Quit Your Choice [1, 2, 3, Q]: 3 Please specify the path to install, [/opt/]:in order to make better the job that MirrorHA with in oracle,sybase,etc applications,we need you config some environment variables of application runtime(you can also edit the '/etc/appenv.conf' file manually later),will you do it now? [y/n]: n Please select the character set for Service encoding: 1. Chinese [Simple] 2. Chinese [Taiwan] 3. Chinese [HongKong] 4. Japanese [JIS] 5. Japanese [EUC] 6. English [UTF-8] Q. Quit Your Choice [1, 2, 3, 4, 5, 6(def), Q]: Please select circumstance of NIS in the Server 1. NIS - None 2. NIS - Server 3. NIS - Client Q. Quit Your Choice [1(def), 2, 3, Q]: Please specify the authentication options.Your name:Company name: installing........OKStarting MirrorHA driver: [ OK ][ OK ] MirrorHA services: [ OK ][ OK ] HA daemon: [ OK ] 四 Rose Mirror HA 配置
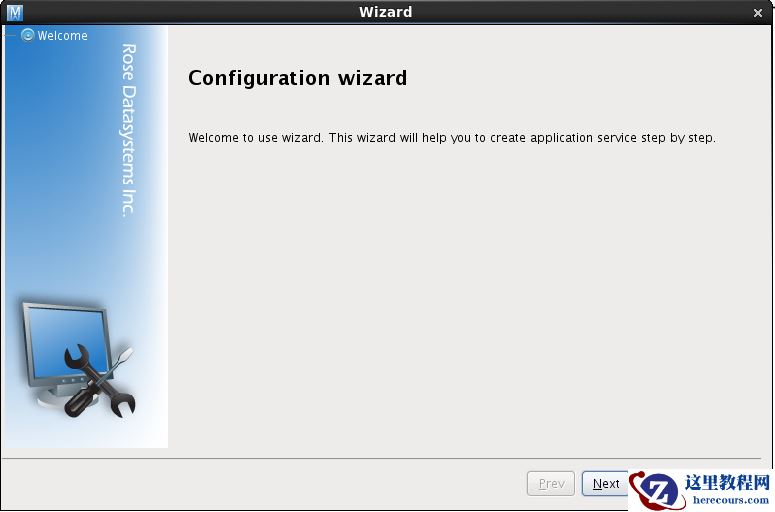
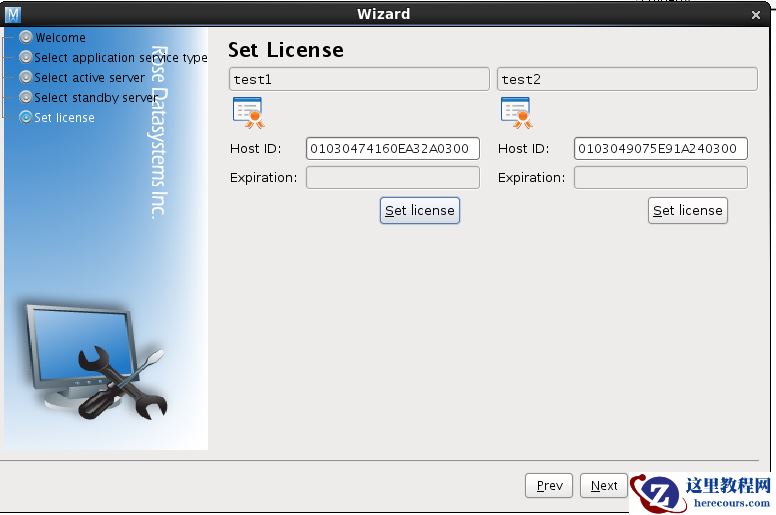
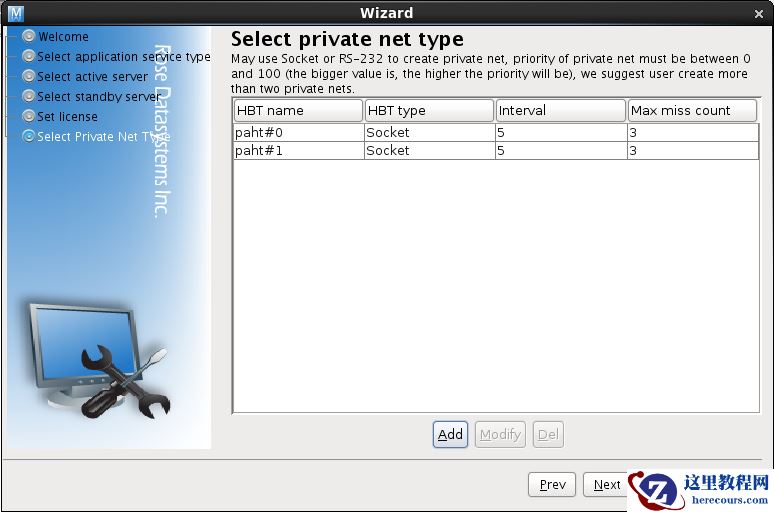
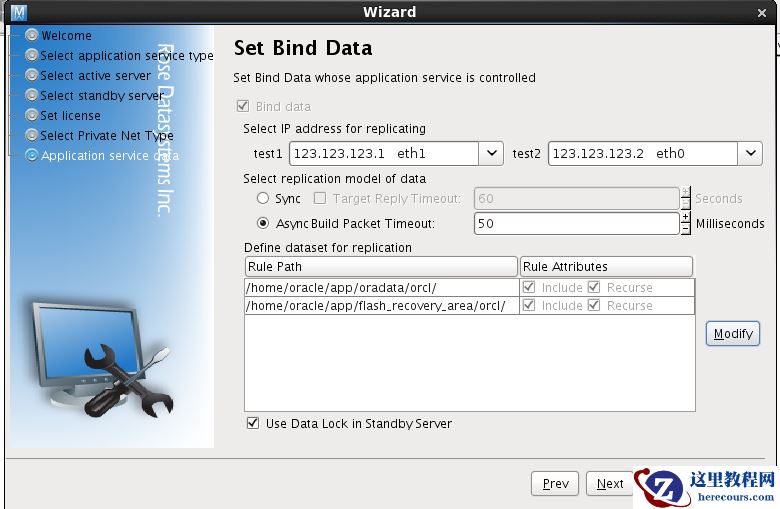
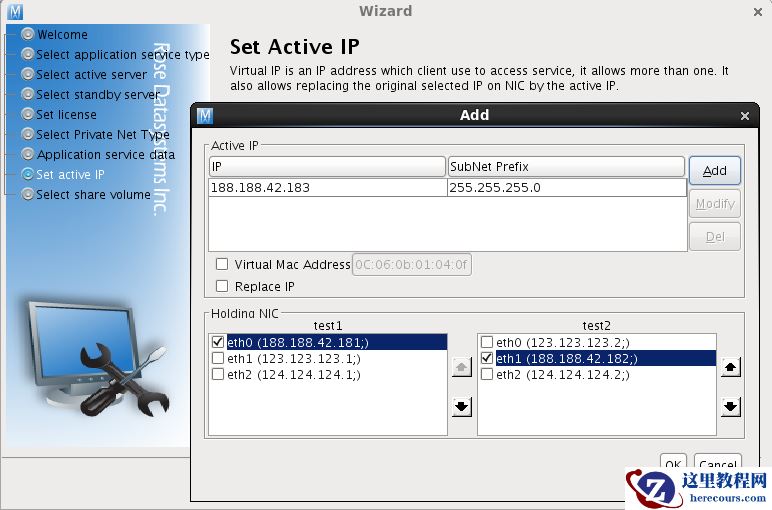
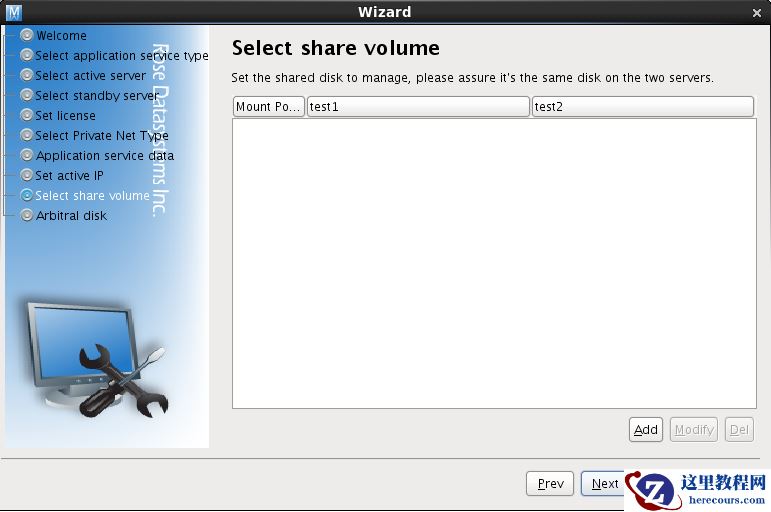
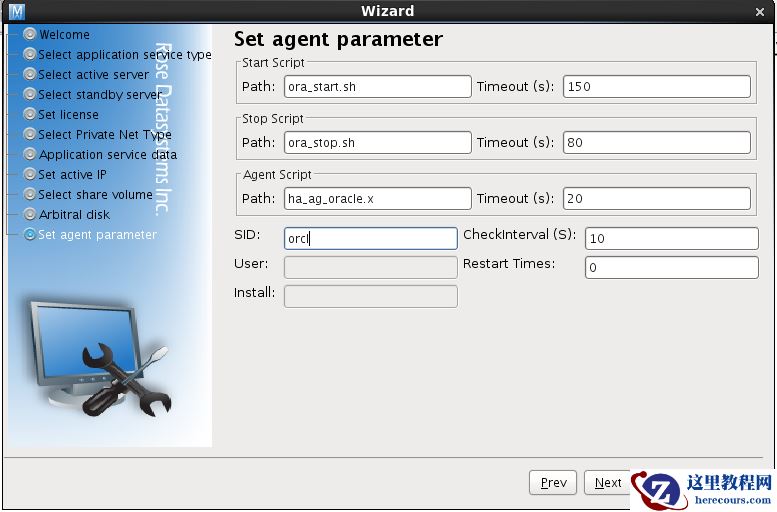
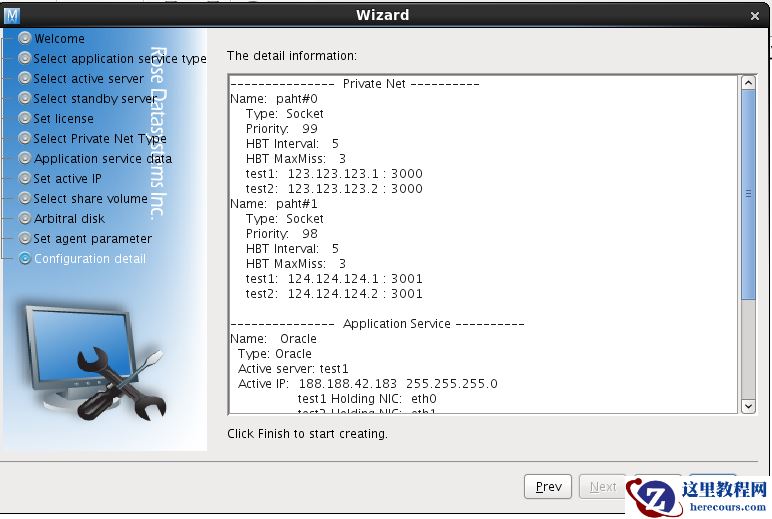
运行rcc 命令,开启配置向导