
Installing Oracle 9i on OEL/RHEL 4.8 64bit June 16, 2012 | No Comments####################################################### ################ PART A (Logged in as root) ################# ####################################################### # Update date : 16/06/2012 1. Disabling SELinux Disable SELinux now (If you couldn*t disable it during installation). cat /etc/selinux/config ## === And make sure to set the SELINUX Flag disabled. SELINUX=disabled 2. Installing missing libraries - You don*t know whether you have the required packages installed or not. Right! Don*t sweat. Run following commands to check whether you have those packages or not. If they are installed, the command prompt will return you their version, else &Not installed* message. rpm -q compat-db compat-gcc-32 compat-gcc-32-c++ compat-libcom_err compat-libcwait compat-libgcc-296 compat-libstdc++-296 compat-libstdc++-33 gcc gcc-c++ glibc glibc-common glibc-devel glibc-headers glibc-kernheaders libgcc make # Required packages for 64bit (x86_64) architecture: binutils-2.15.92.0.2-21.x86_64 compat-db-4.1.25-9.i386 compat-db-4.1.25-9.x86_64 compat-gcc-32-3.2.3-47.3.x86_64 compat-gcc-32-c++-3.2.3-47.3.x86_64 compat-libcom_err-1.0-5.i386 compat-libcom_err-1.0-5.x86_64 compat-libgcc-296-2.96-132.7.2.i386 compat-libstdc++-296-2.96-132.7.2.i386 compat-libstdc++-33-3.2.3-47.3.i386 compat-libstdc++-33-3.2.3-47.3.x86_64 gcc-3.4.6-3.1.x86_64 gcc-c++-3.4.6-3.1.x86_64 glibc-2.3.4-2.25.i686 glibc-2.3.4-2.25.x86_64 glibc-common-2.3.4-2.25.x86_64 glibc-devel-2.3.4-2.25.i386 glibc-devel-2.3.4-2.25.x86_64 glibc-headers-2.3.4-2.25.x86_64 glibc-kernheaders-2.4-9.1.98.EL.x86_64 libgcc-3.4.6-3.1.i386 libgcc-3.4.6-3.1.x86_64 make-3.80-6.EL4.x86_64 # cd /etc/yum.repos.d # wget http://public-yum.oracle.com/public-yum-el4.repo [oracle@localhost igdbg]$ cd /etc/yum.repos.d/ [oracle@localhost yum.repos.d]$ cat rhel48.repo [Server] name=Server baseurl=http://10.148.8.235/rhel48/ enabled=1 gpgcheck=0 gpgkey= package compat-db is not installed package compat-libcom_err is not installed package compat-libgcc-296 is not installed package compat-libstdc++-296 is not installed package gcc is not installed package gcc-c++ is not installed yum -y install compat-gcc-32 compat-gcc-32-c++ compat-gcc-32-c++ glibc-devel libaio-devel xorg-x11-deprecated-libs-devel compat-libcom_err compat-libgcc-296 compat-libstdc++-296 gcc gcc-c++ ******* 安裝yum 32位 wget http://10.148.8.235/repos/yum_forAS4.tar.gz tar xfz yum_forAS4.tar.gz cd yum_forAS4 rpm -ivh *.rpm ******** 3. Installing patches You need to download three patches and install it. These patches are: #Location : http://oss.oracle.com/projects/compat-oracle/files/RedHat/ wget http://oss.oracle.com/projects/compat-oracle/dist/files/RedHat/compat-libcwait-2.1-1.i386.rpm wget http://oss.oracle.com/projects/compat-oracle/dist/files/RedHat/compat-libcwait-2.1-2.x86_64.rpm wget http://oss.oracle.com/projects/compat-oracle/dist/files/RedHat/compat-oracle-rhel4-1.0-5.i386.rpm ## === Navigate to the location where you have stored the downloaded file. # rpm -Uvh compat-libcwait-2.1-1.i386.rpm # rpm -Uvh compat-libcwait-2.1-2.x86_64.rpm # rpm -Uvh compat-oracle-rhel4-1.0-5.i386.rpm ******** ERROR: ld.so: object '/lib/libcwait.so'报错解决 此文来自:http://www.cnblogs.com/snigoal/archive/2012/07/17/2596569.html 在RH Linux AS4 x86-64 安装Oracle9.2.0.4前打补丁Patch 4198954中的compat-libcwait-2.1-1.i386.rpm 报如下的错误: [root@oracle8 oracle]# rpm -ivh compat-oracle-rhel4-1.0-5.i386.rpm ERROR: ld.so: object '/lib/libcwait.so' from /etc/ld.so.preload cannot be preloaded: ignore Google了半天找到解决办法: # echo "" > /etc/ld.so.preload 64位系统没有这个文件导致报错 ********* 4. ﹞ User and Group Creation Oracle installer wouldn*t run as the root user, so you need to create a user. It would be better, if you create a special group for Oracle. To do these, run the following commands in the command prompt. groupadd oinstall groupadd dba groupadd oper useradd -g oinstall -G dba oracle passwd oracle 5. ORACLE_BASE Directory Creation -Login as root and create base directory for Oracle ($ORACLE_BASE). mkdir -p /opt/orcl9i chown -R oracle:oinstall /opt 6. ﹞ Setting up the kernel parameters You also need to do a little modification in the the kernel parameters. You need to open the sysctl.conf file # vi /etc/sysctl.conf ## === Add/update the following lines # Oracle Kernel Setting for Oracle 9i kernel.shmmni = 4096 kernel.sem = 250 32000 100 128 fs.file-max = 65536 net.ipv4.ip_local_port_range = 1024 65000 net.core.rmem_default=262144 net.core.wmem_default=262144 net.core.rmem_max=262144 net.core.wmem_max=262144 ## === Save and close the file. You need to run a command to update the parameters sysctl -p #Edit the /etc/security/limits.conf file and add following lines: vi /etc/security/limits.conf oracle soft nproc 2047 oracle hard nproc 16384 oracle soft nofile 1024 oracle hard nofile 65536 # Add or edit the following line in the /etc/pam.d/login file, if it does not already exist: vi /etc/pam.d/login session required pam_limits.so #Add the following lines to /etc/profile: if [ $USER = ※oracle§ ]; then if [ $SHELL = ※/bin/ksh§ ]; then ulimit -p 16384 ulimit -n 65536 else ulimit -u 16384 -n 65536 fi fi ####################################################### ############# PART B (Logged in as oracle) #################### ####################################################### 7. ﹞ Setting Environment Variables 每 Now since you have created the oracle user, you need to setup its environment variables. For that, you need to update oracle*s .bash_profile file. ORACLE_SID=ora9ibpm ORACLE_BASE=/opt/orcl9i ORACLE_TERM=xterm ORACLE_HOME=/opt/orcl9i/product/9.2.4 Open bash profile of Oracle: #vi ~/.bash_profile # Get the aliases and functions if [ -f ~/.bashrc ]; then . ~/.bashrc fi # User specific environment and startup programs PATH=$PATH:$HOME/bin export LD_ASSUME_KERNEL=2.4.19 export ORACLE_BASE=/opt/orcl9i export ORACLE_HOME=/opt/orcl9i/product/9.2.4 export ORACLE_SID=ora9ibpm export PATH=$PATH:$ORACLE_HOME/bin export LD_LIBRARY_PATH=$ORACLE_HOME/lib:/lib64:/usr/lib64:/usr/local/lib64:/usr/X11R6/lib64/ # vi ~/.bashrc alias dba="sqlplus '/as sysdba'" alias alert=§tail -100f /opt/orcl9i/admin/ora9ibpm/bdump/alert_ora9ibpm.log 8. Download Oracle 9i - Download the Oracle 9i (9.2.0.4) ,store the files in oracle*s home directory. Launch the command prompt and navigate there. wget http://10.148.8.235/ORACLE/ORACLE_SOURCE/ORACLE_64bit/Linux_oracle9i_64/amd64_db_9204_Disk1.cpio.gz wget http://10.148.8.235/ORACLE/ORACLE_SOURCE/ORACLE_64bit/Linux_oracle9i_64/amd64_db_9204_Disk2.cpio.gz wget http://10.148.8.235/ORACLE/ORACLE_SOURCE/ORACLE_64bit/Linux_oracle9i_64/amd64_db_9204_Disk3.cpio.gz ## === Unzip the files - gunzip amd64_db_9204_Disk1.cpio.gz gunzip amd64_db_9204_Disk2.cpio.gz gunzip amd64_db_9204_Disk3.cpio.gz ## === Unpack the cpio files - cpio -idmv < amd64_db_9204_Disk1.cpio cpio -idmv < amd64_db_9204_Disk2.cpio cpio -idmv < amd64_db_9204_Disk3.cpio 9. ﹞ Starting Oracle Installer - Now you are all set for Oracle installation. In the command prompt go to the Disk1 directory and run runInstaller file. cd /opt/source/Disk1 export LD_ASSUME_KERNEL=2.4.19 export DISPLAY=10.148.53.74:0.0 ./runInstaller ****** 在 Linux x86-64 as4.8 下安装oralce9204到17%时出现卡住,oracle安装文件是amd64_db_9204_Disk1.cpio.gz 左边出现的错误是Error in writing to file /u01/app/oracle/..... ,右边是在安装过程中,终端里会出现以下内容: Inside isClusterMode. bCluster bfr is : false Inside isCluster. bCluster bfr return is : false Inside isCluster. bCluster bfr return is : false 该问题是由于redhat内核版本比较高的原因,可以通过在ORACLE用户的环境变量中添加LD_ASSUME_KERNEL=2.4.19参数以骗过ORACLE, export LD_ASSUME_KERNEL=2.4.1 添加完参数后让参数文件重新生效一下,关闭当前安装界面,删除前面安装过程中产生的文件,重新打开一个Terminal进行安装即可通过 经测试:as4.x 64的可以,as5.x 64位的不支持。 ******* - Install Software Only, we*ll run dbca later. 10. Error during DBCA, when checking sqlplus, getting Sementation Fault. # ERROR WHEN DBCA/LSNRCTL Segmentation Fault When Execute Sqlplus, Oracle, Lsnrctl After New/Patchset Install [ID 316746.1] java.io.IOException: Bad file descriptor at java.io.FileInputStream.readBytes(Native Method) at java.io.FileInputStream.read(FileInputStream.java:194) at sun.nio.cs.StreamDecoder$CharsetSD.readBytes(StreamDecoder.java:408) at sun.nio.cs.StreamDecoder$CharsetSD.implRead(StreamDecoder.java:450) at sun.nio.cs.StreamDecoder.read(StreamDecoder.java:182) at java.io.InputStreamReader.read(InputStreamReader.java:167) at java.io.BufferedReader.fill(BufferedReader.java:136) at java.io.BufferedReader.readLine(BufferedReader.java:299) at java.io.BufferedReader.readLine(BufferedReader.java:362) at oracle.sysman.assistants.util.sqlEngine.SQLEngine$ErrorStreamReader.run(SQLEngine.java:1985) at java.lang.Thread.run(Thread.java:534) # Solution To implement the solution, please execute the following steps: Refer to: 1. cd /usr/bin (as root) 2. mv gcc gcc.script 3. mv g++ g++.script 4. ln -s gcc32 gcc 5. ln -s g++32 g++ 6. login as oracle software owner (make sure environment is correct) 7. cd $ORACLE_HOME/bin 8. relink all > relink.txt 2>&1 (check relink.txt for errors) Re-run the dbca ******由9.2.0.4升級到9.2.0.8 wget http://10.148.8.235/ORACLE/ORACLE_SOURCE/ORACLE_64bit/Linux_oracle9i_64/p4547809_92080_Linux-x86-64.zip unzip p4547809_92080_Linux-x86-64.zip cd /opt/source/Disk1 export LD_ASSUME_KERNEL=2.4.19 export DISPLAY=10.148.53.74:0.0 ./runInstaller 在oui图形界面,指定oracle_home_name(如果oracle_home名指定正确,自动会找到以前oracle安装的路径)和路径,然后next,当提示用root用户运行$ORACLE_HOME/root.sh脚本时,按照提示运行root.sh脚本,然后等安装完成后退出oracle universal installer即可; 查找oracle_home name cat /opt/orcl9i/oraInventory/ContentsXML/inventory.xml
Installing Oracle 9i on OELRHEL 4.8 64bit
来源:这里教程网
时间:2026-03-03 17:22:39
作者:
编辑推荐:
- Installing Oracle 9i on OELRHEL 4.8 64bit03-03
- linux和windows操作系统下完全删除oracle数据库03-03
- Linux安裝oracle03-03
- 【参数】恢复db_recovery_file_dest_size参数为默认值“0”方法03-03
- 【STACKX】Oracle core file分析利器STACKX 使用指南03-03
- 【LISTENER】Oracle通过监听连接缓慢分析03-03
- oracle ocp 19c考题8,科目082考试题-logical and physical database structures03-03
- [20211229]再论19c latch free等待事件分析.txt03-03
下一篇:
相关推荐
-

-
-
-
-
-
-
-
-
-
-
-
-
-
-

雷神推出 MIX PRO II 迷你主机:基于 Ultra 200H,玻璃上盖 + ARGB 灯效
2 月 9 日消息,雷神 (THUNDEROBOT) 现已宣布推出基于英
-

制造商 Musnap 推出彩色墨水屏电纸书 Ocean C:支持手写笔、第三方安卓应用
2 月 10 日消息,制造商 Musnap 现已在海外推出一款 Oce
热文推荐
- 电脑误删内存卡照片如何恢复?(三个步骤)
电脑误删内存卡照片如何恢复?(三个步骤)
26-03-03 - C盘哪些文件可以删除?删除文件看这里
C盘哪些文件可以删除?删除文件看这里
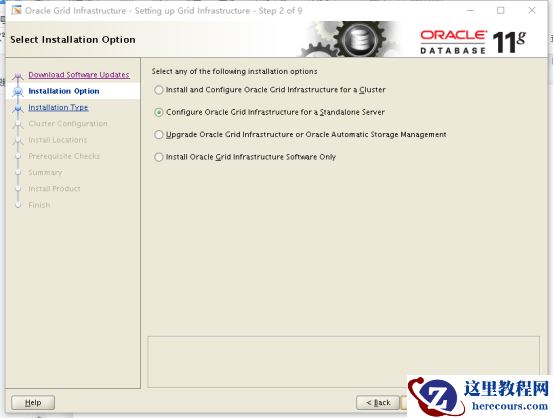
26-03-03 - Oracle Grid Infrastructure for a Standalone Server
- 储存卡误删都能恢复吗?这个方法大家用了都说好
储存卡误删都能恢复吗?这个方法大家用了都说好
26-03-03 - 电脑怎么找回彻底删除的文件?大家都说简单的方法
电脑怎么找回彻底删除的文件?大家都说简单的方法
26-03-03 - 【Oralce漏洞与安全】AHF的Log4j漏洞修复
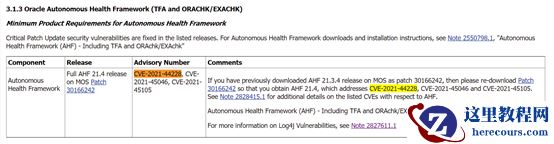
【Oralce漏洞与安全】AHF的Log4j漏洞修复
26-03-03 - Oracle 21C区块链表

Oracle 21C区块链表
26-03-03 - 聊聊虚拟化和容器对数据库的影响
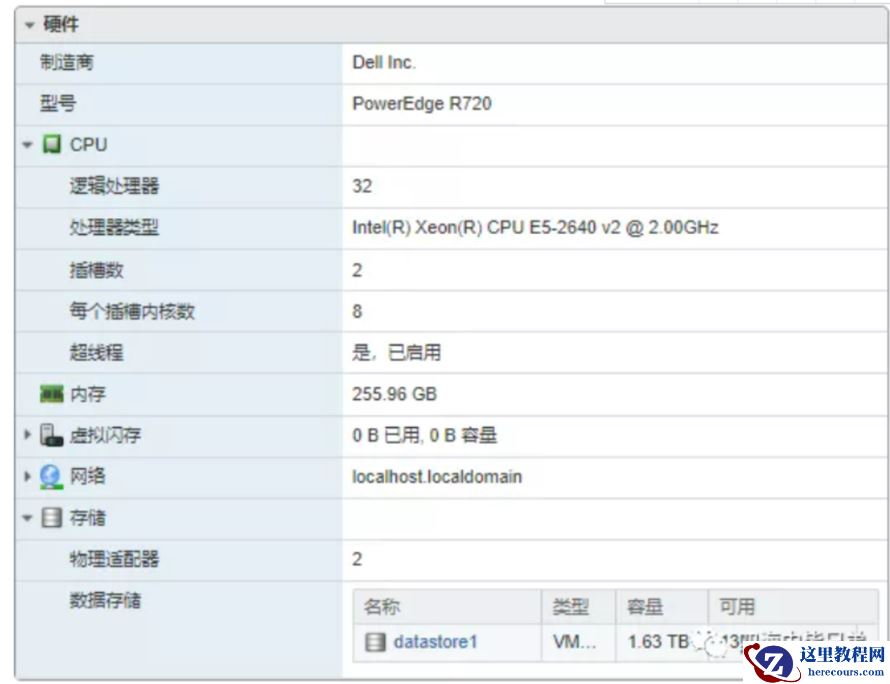
聊聊虚拟化和容器对数据库的影响
26-03-03 - AS、SAN、NAS三种存储
AS、SAN、NAS三种存储
26-03-03 - 十个关于互联网圈的冷知识

十个关于互联网圈的冷知识
26-03-03